My Printmaking Process (Start to Finish)
Printmaking is one of those things that looks simple from the outside… but there’s actually so much that goes into each piece.
This is my exact process. What works for me, how I do things, and how I turn an idea into a finished print.
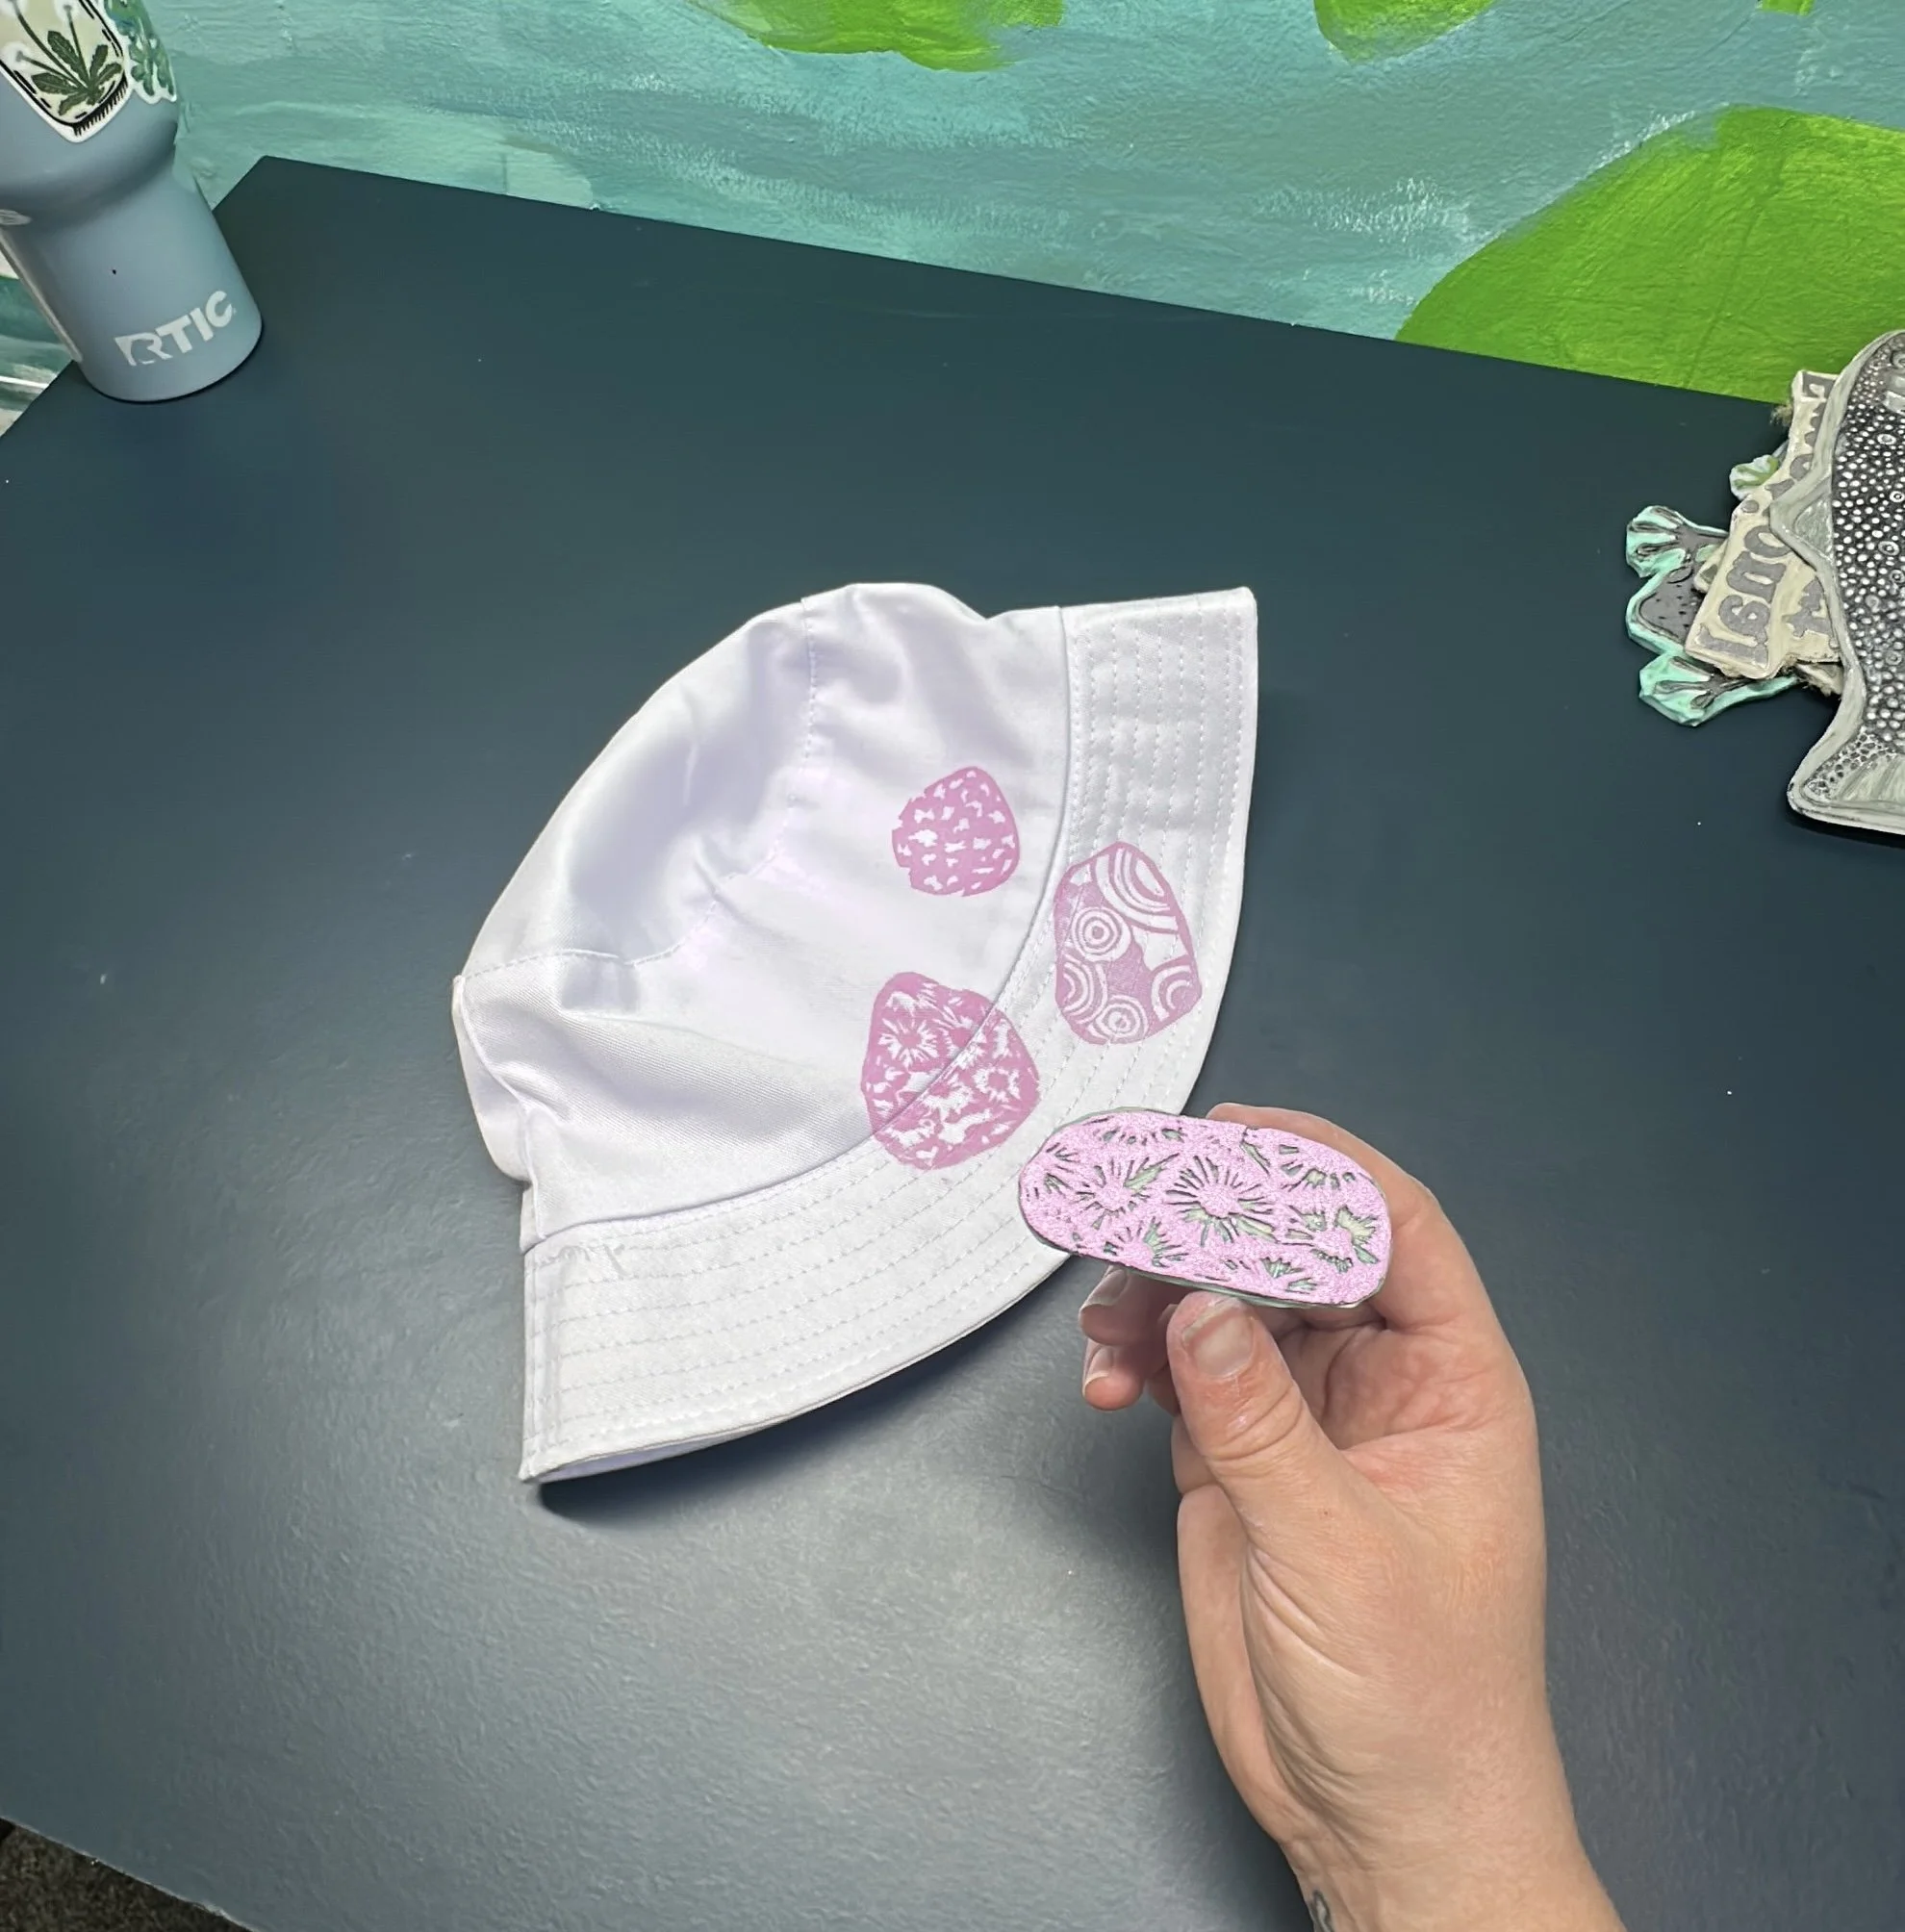
Mid print session with some rock blocks and pink ink
Where My Printmaking Starts (Sketching)
Everything starts in my sketchbook.
Most of the time, I’ll sketch out my ideas first so I can really figure out the shapes, textures, and flow of the design. If I’m working on something small, like a rock print, I’ll sometimes draw directly onto the block instead.
But usually, it begins on paper.
Choosing the Right Block
Once I have my design, I transfer it onto my block of choice.
The type of block I use depends on how detailed the design is. Some blocks are better for fine detail, while others are better for bold, simple shapes.
Lately, I’ve been loving rubber blocks (find what I use here). They’re easier to carve and give really clean results.
(Also yes… I will absolutely be doing a full blog on my favorite blocks soon because I have THOUGHTS.)
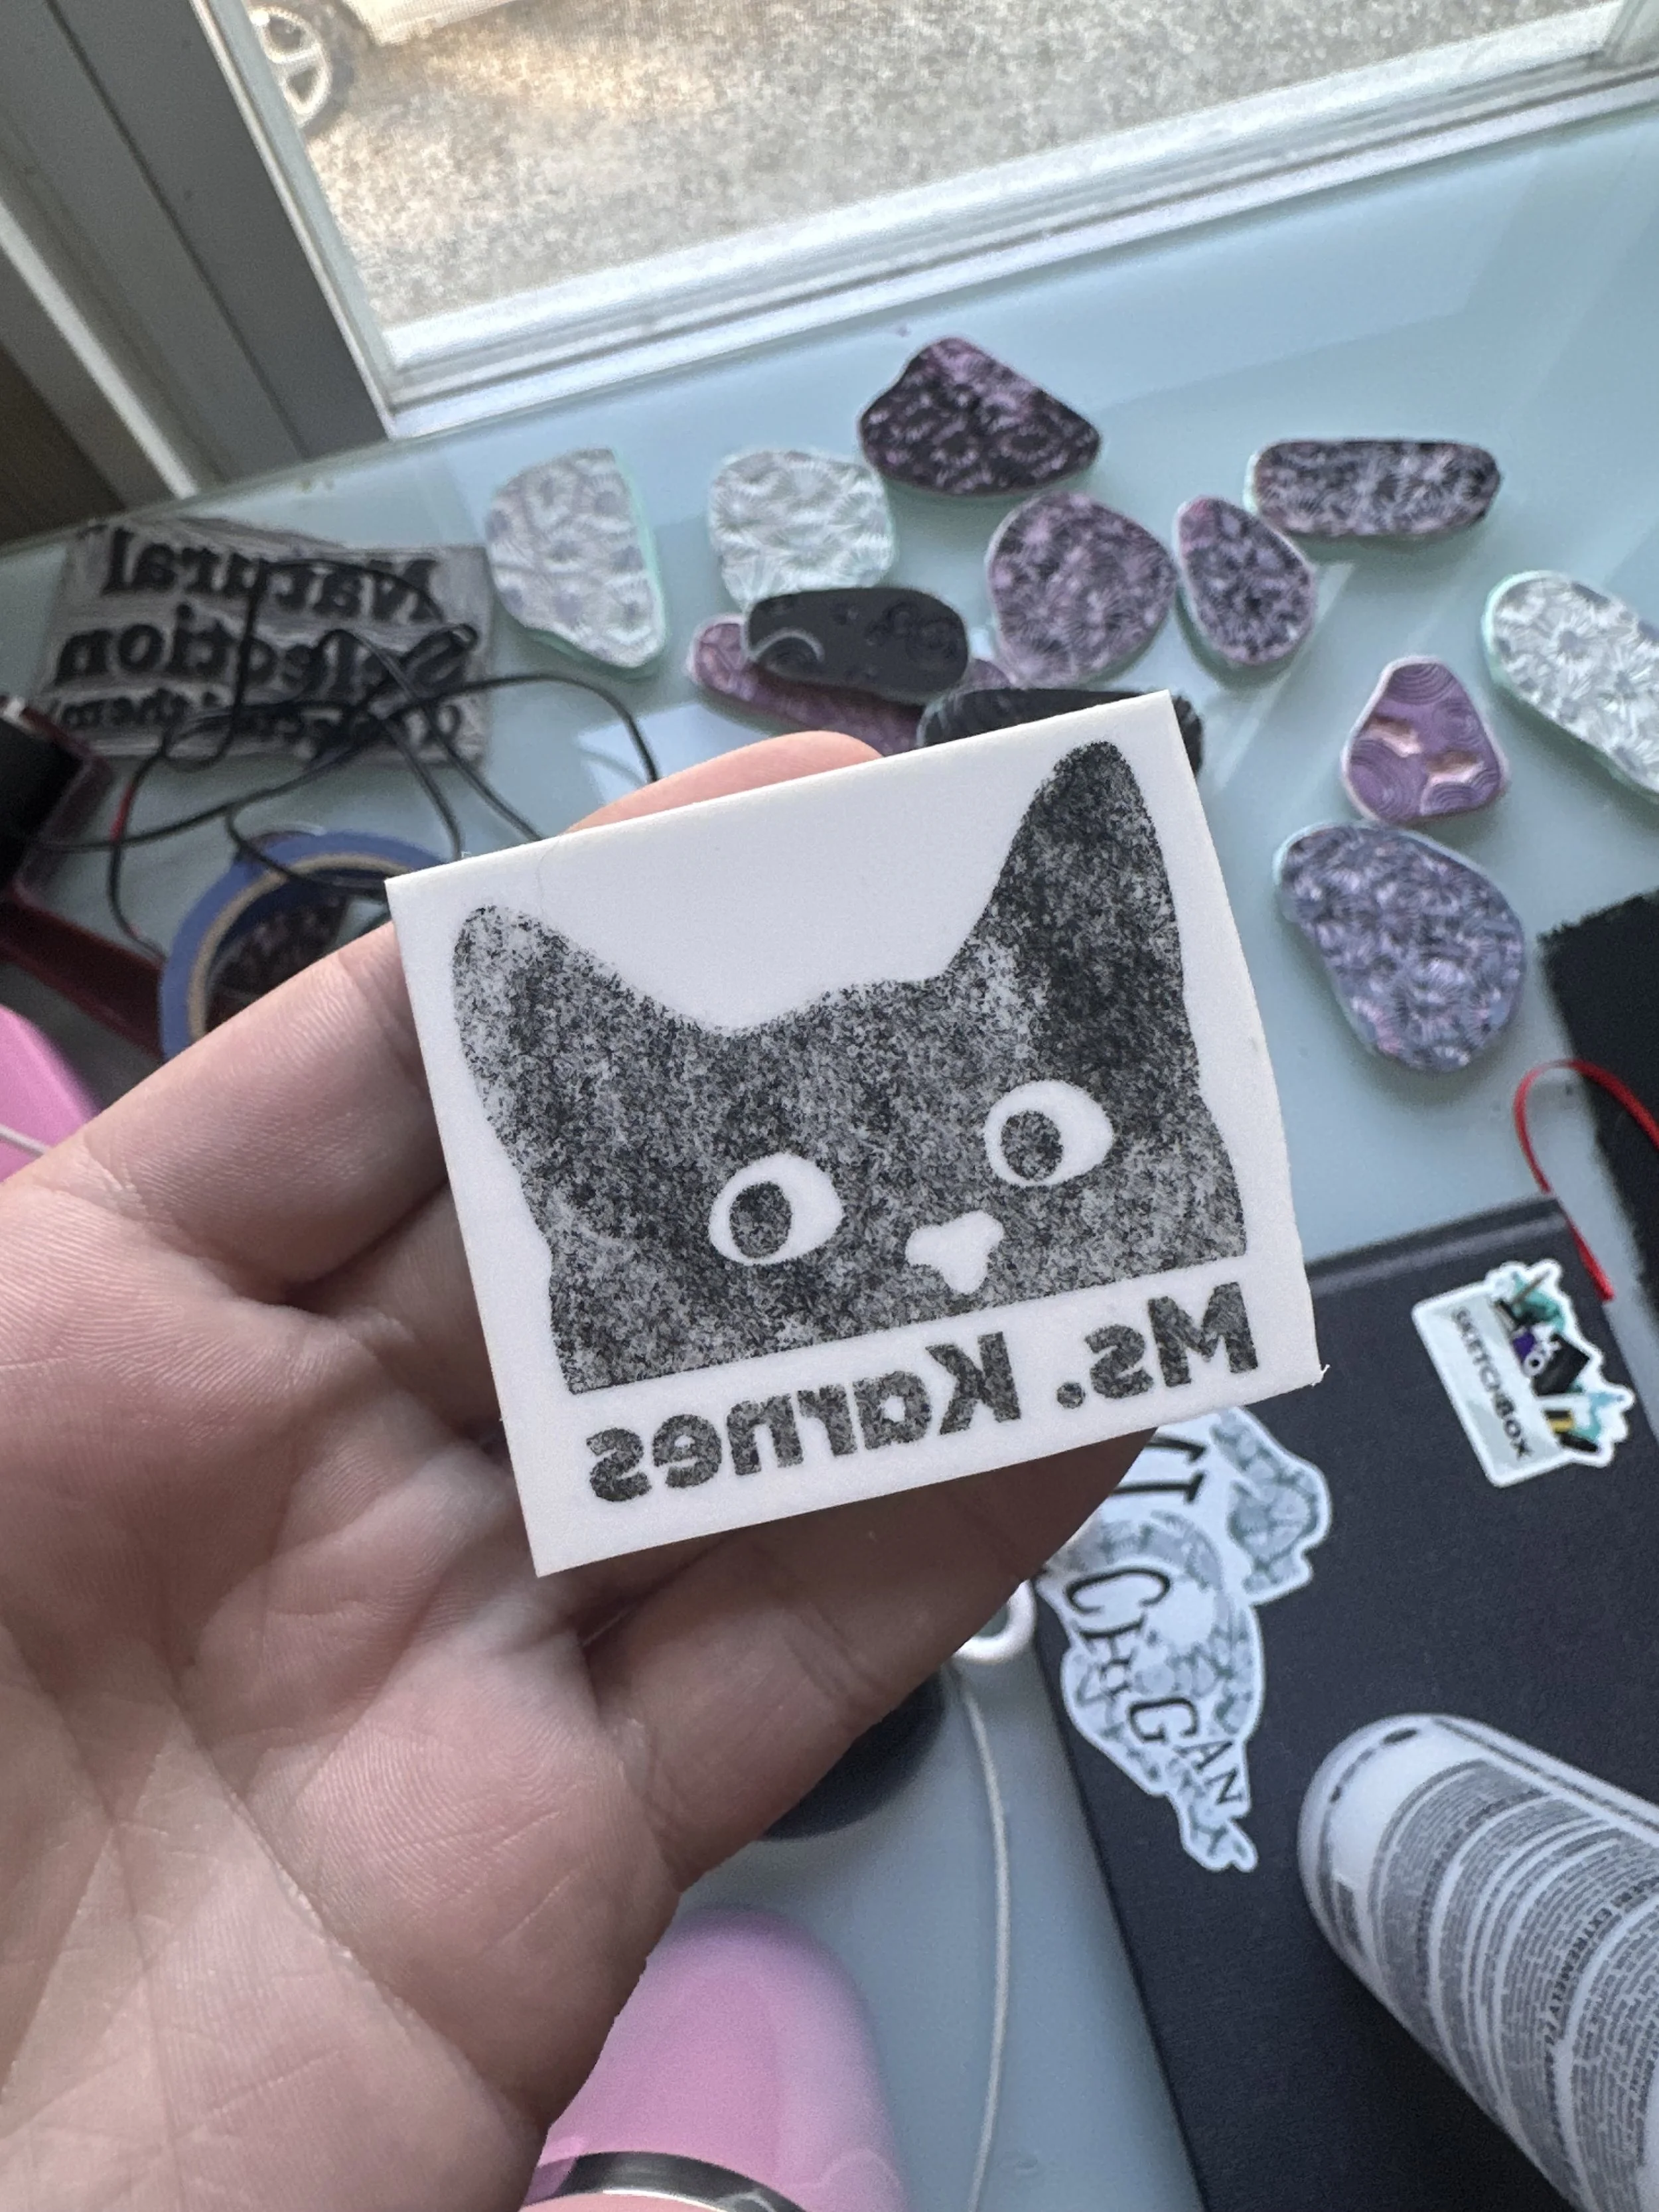
A fresh transfer onto one of the rubber blocks
How I Transfer My Designs
This is where things get a little more technical.
Here’s my process:
I sketch my design
Take a photo of it
Vectorize it in Adobe Illustrator (so it becomes clean, solid shapes)
Turn it fully black for strong pigment
Print it using a laser printer
Then I transfer the design onto my block using acetone.
This method works really well for getting crisp, clear lines onto the block before carving.
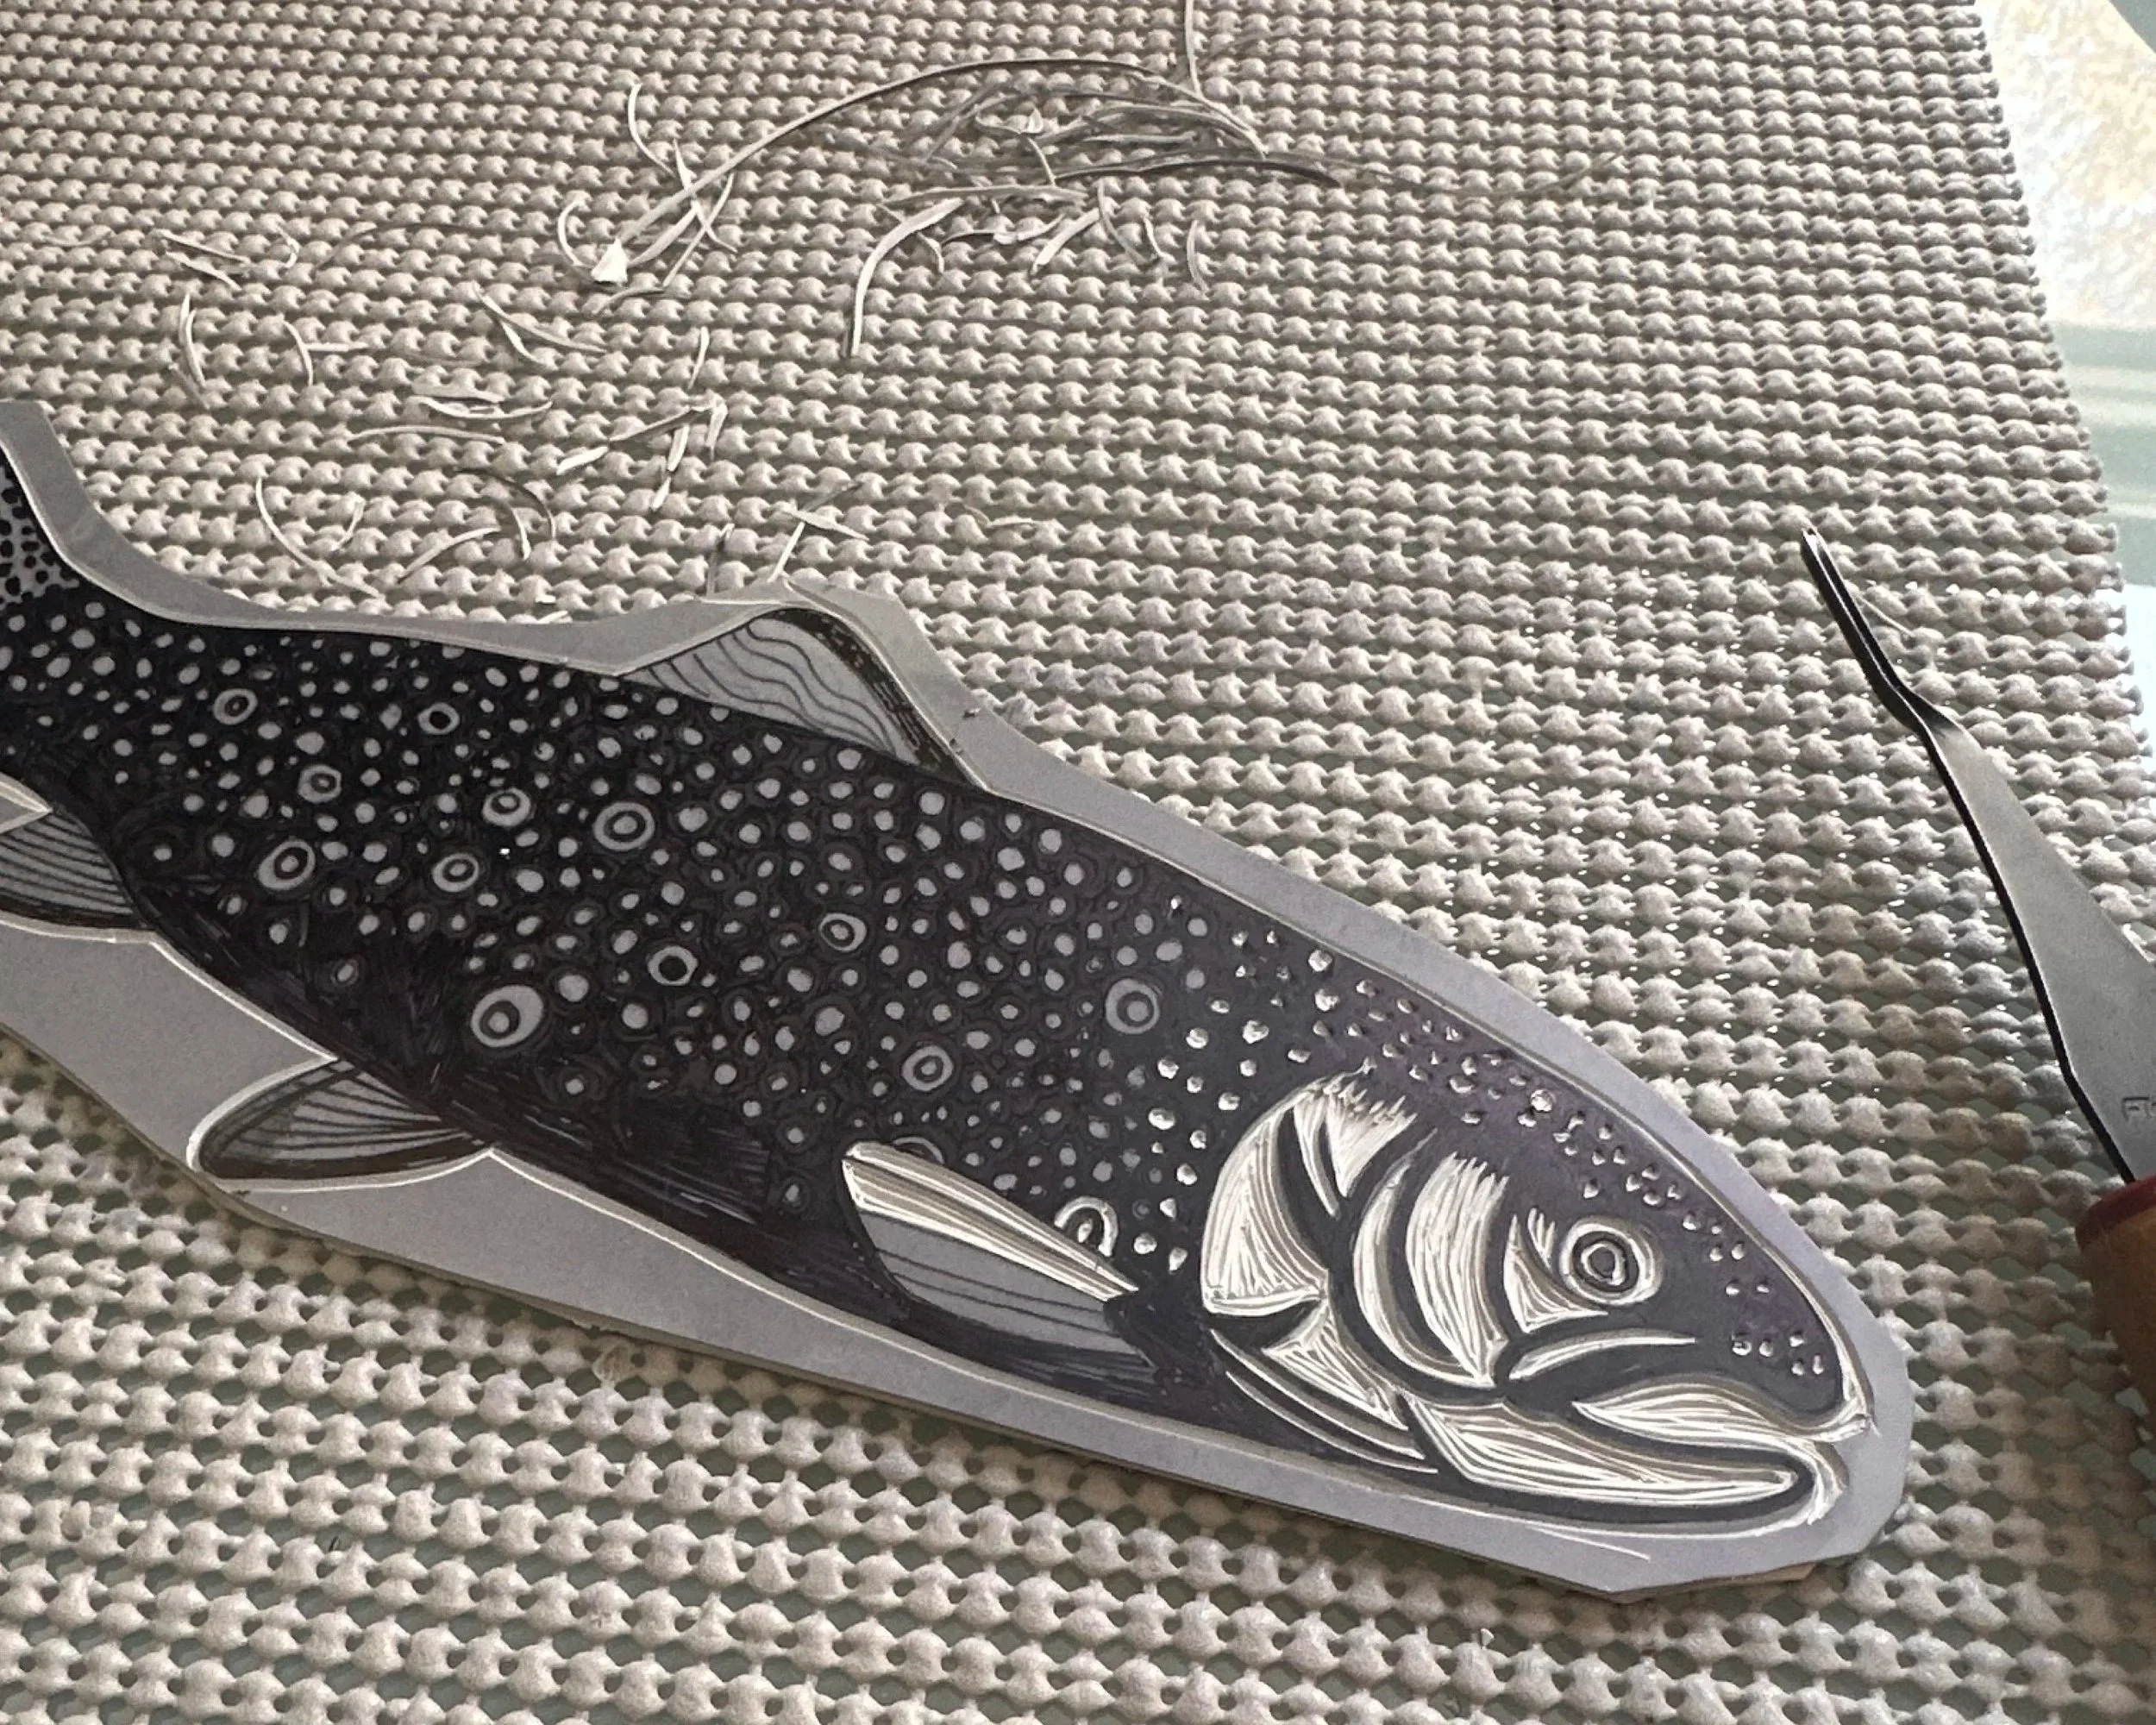
Partially carved trout fish block
Carving the Block
Once the design is transferred, it’s time to carve.
I carve away everything I don’t want to print. What’s left behind is what will actually show up in the final piece.
This part takes patience, but it’s also one of my favorite steps. There’s something really satisfying about watching the design come to life as you carve.
Test Printing
Before I commit to a full print, I always do a test.
I use a simple ink pad (like a stamp pad) for this. It’s quick, easy, and lets me see if anything needs to be adjusted.
If something looks off, I go back and carve more.
If it looks good… we move on.
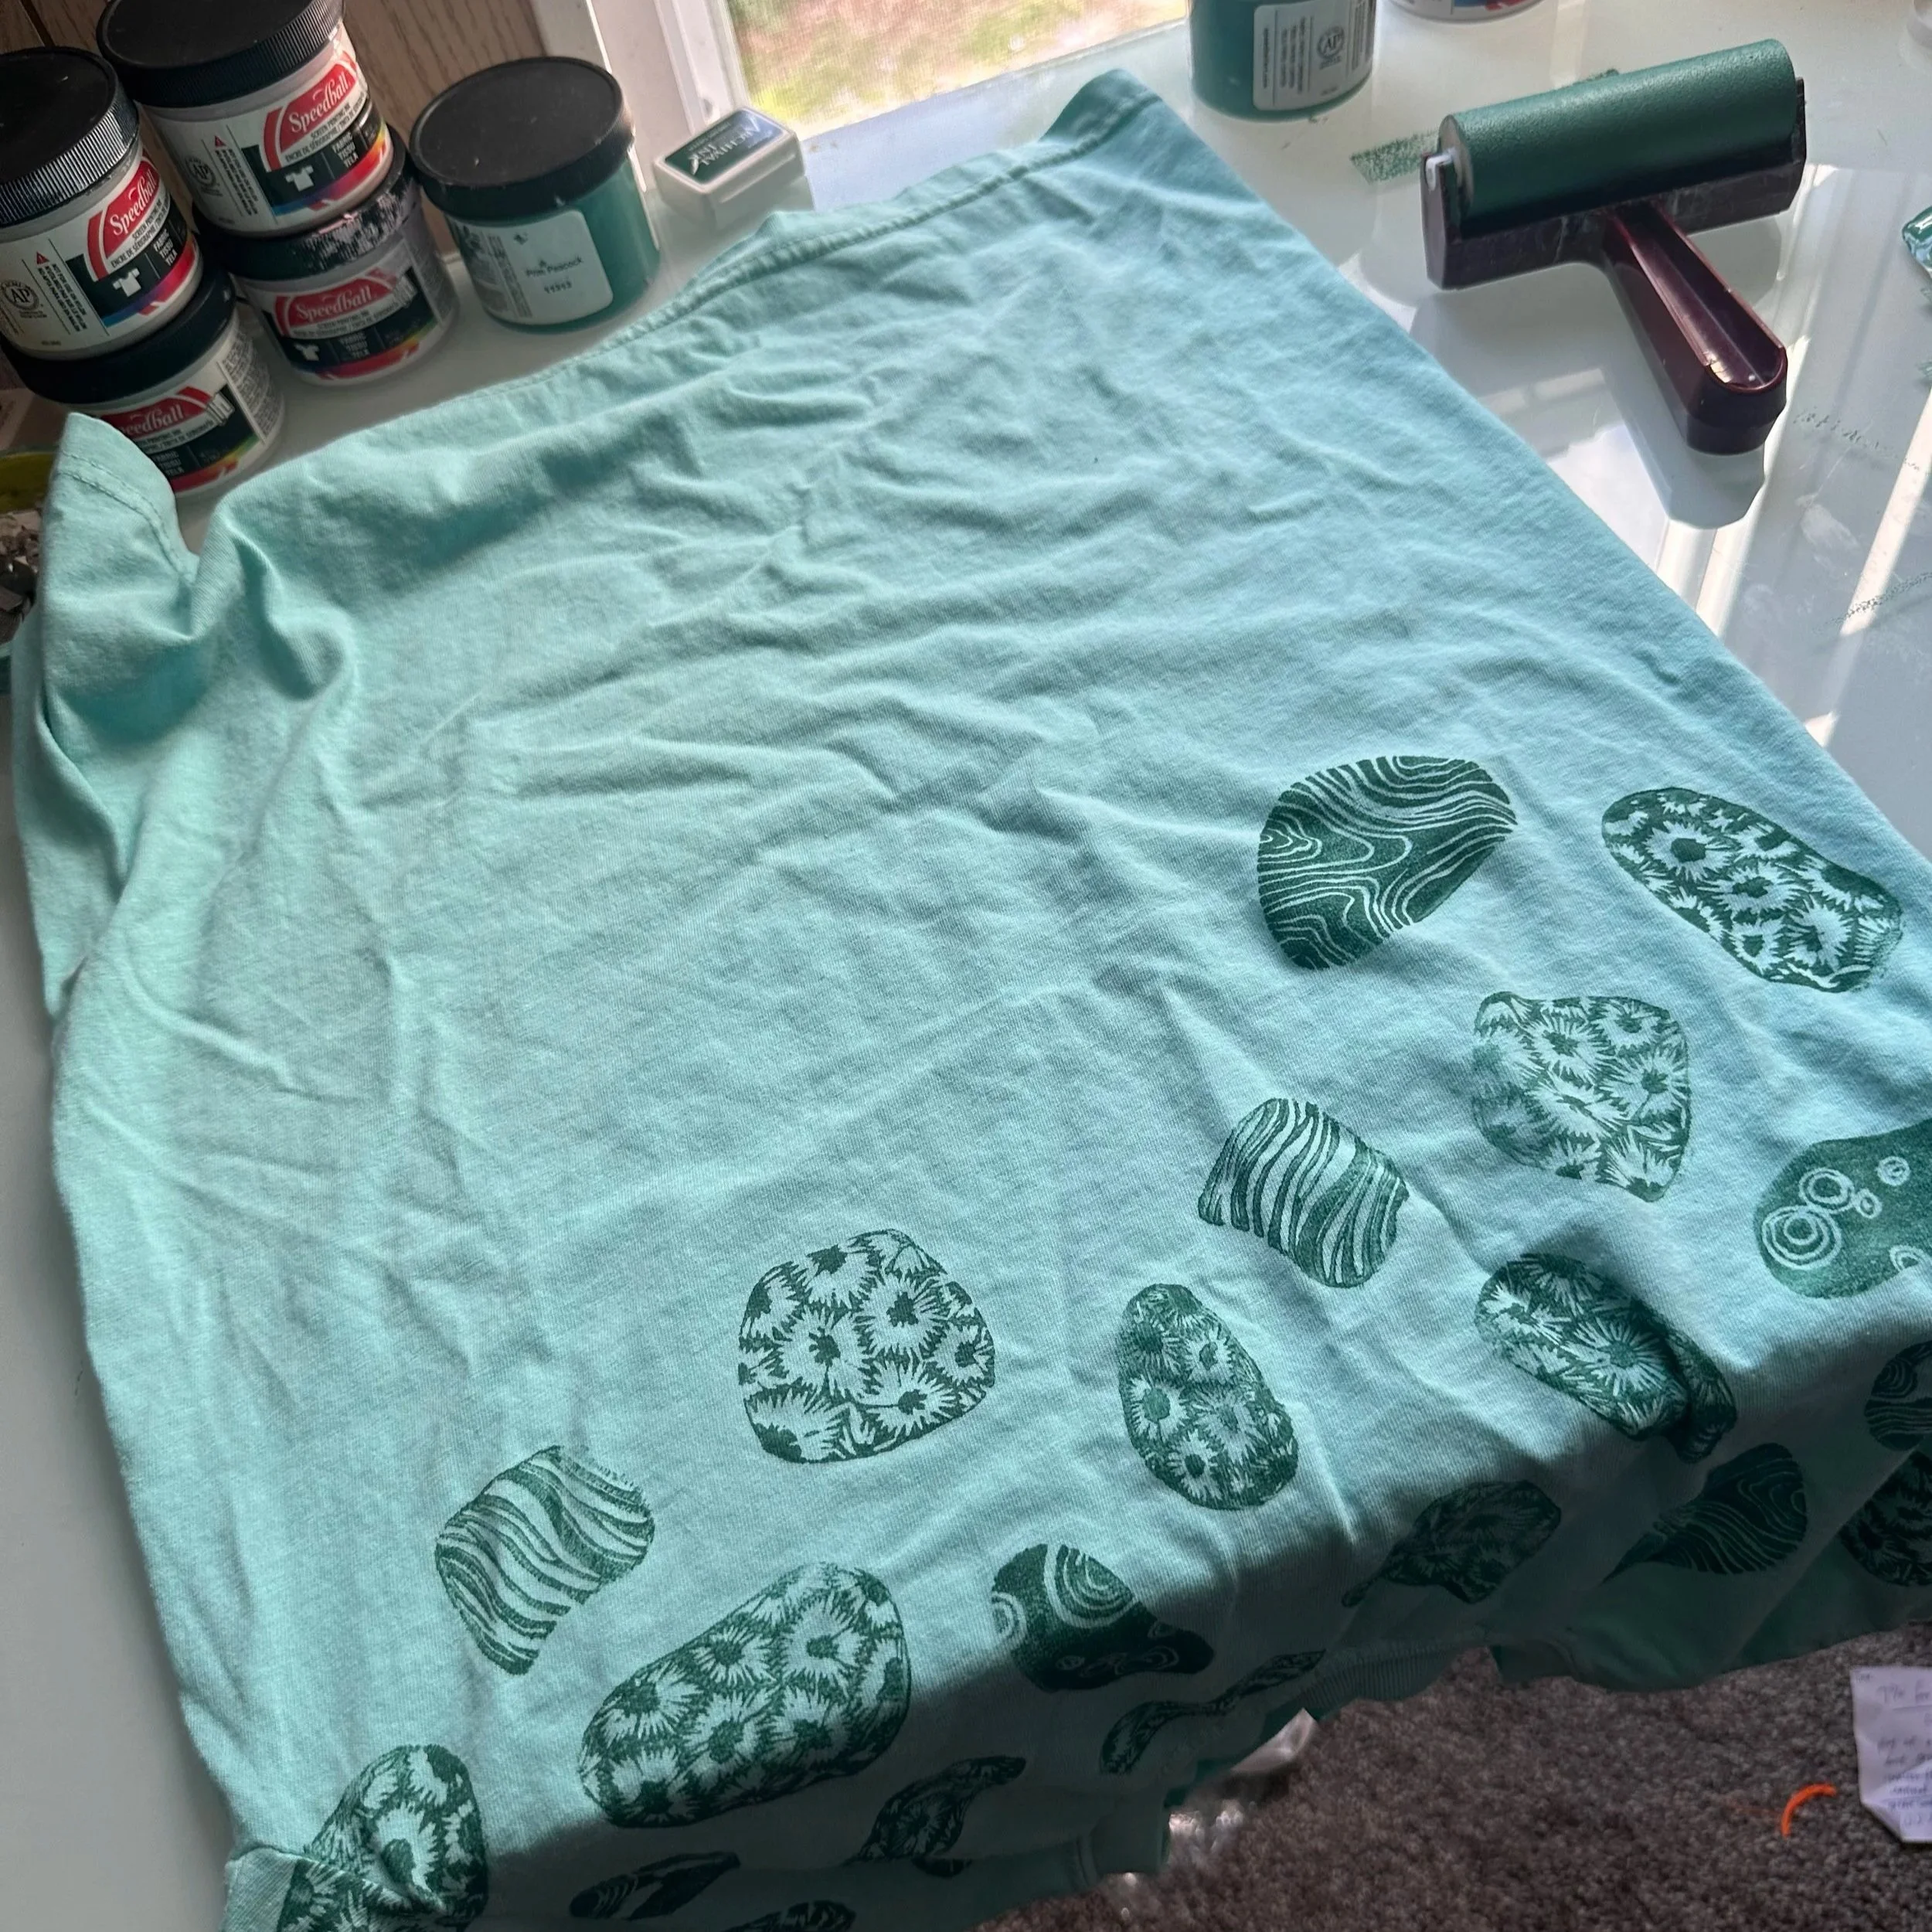
Custom printed Michigan Rockhound Tee for a friend
Printing on Fabric
This is where it all comes together.
I mostly print on fabric, especially shirts.
I use Speedball fabric block printing ink, and I roll it out onto the block before pressing it onto the fabric.
And I have to say… the magenta/pink is my favorite. I mix it with everything. It just makes every print feel a little more me.
Once it’s printed, it just needs time to dry… and then it’s ready to wear.
Why I Love This Process
Printmaking is a mix of creativity and repetition, which are two of my favorite things.
Every step matters. Every carve, every print, every little adjustment.
And at the end of it, you get something completely handmade that started as just an idea.
This is the process that works for me. It’s not the only way to do printmaking, but it’s the way I’ve found that brings my ideas to life best.
And honestly… that’s what art is all about.
